I often use labyrinths in my retreats and workshops, and until now I’ve either used what’s available onsite, or I’ve created them with string, mowed them into grass, or made them out of dried leaves.
This weekend, I finally made a portable labyrinth that I can carry with me.
 When I shared the result on social media, several people asked for details about how I made it. Here’s how:
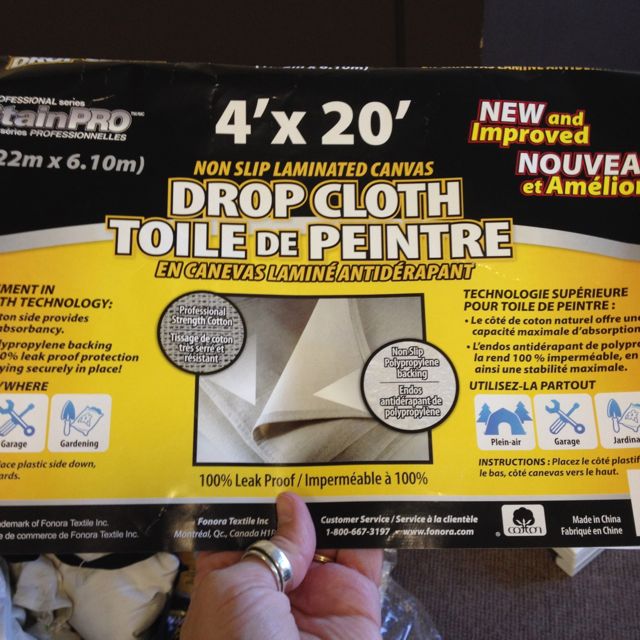 1. Since canvas can be quite expensive, I looked for a less expensive alternative. At the local Home Depot, I found painting drop cloths that were 4′ x 20′. They worked well because they’re fabric on one side and plastic on the other so that they absorb the paint without soaking through to the floor. Plus they’re fairly light weight for easier transport. (They cost $22 each, so my total investment was $110, since I had all of the other materials on hand.)
2. I wanted to make my labyrinth approximately 20′ x 20′, so I bought 5 drop cloths and sewed them together. They’re hemmed along the long edges, and at first I was going to seam-rip all of the hems, but that was far too tedious, so I just cut off the hems (losing a bit of the width, but I was okay with that) and sewed them. Tip: I had access to a large space for my labyrinth creation (a church floor), and I recommend doing the sewing in a fairly large space too. It’s bulky and a little awkward.
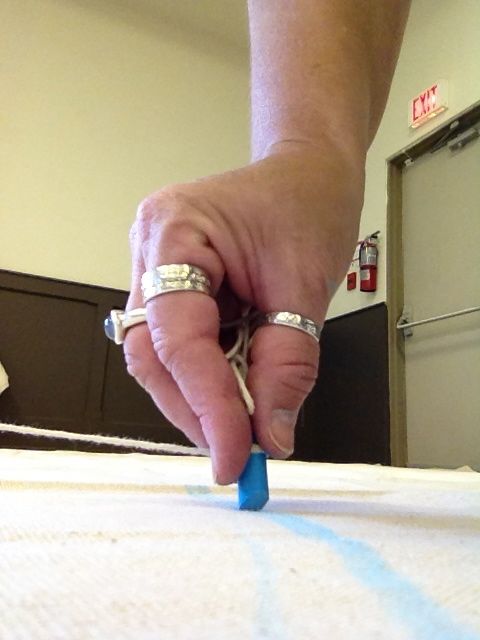 3. Once the dropcloths were sewn together, I drew the outline of the labyrinth with chalk. I started by measuring where my centre was and making a chalk mark there. Then I placed a paint can at the centre and tied a long string loosely on it to use as a giant compass/protractor. Tip: Make sure the string is loose enough on the can so that it rotates as you move around the circle.
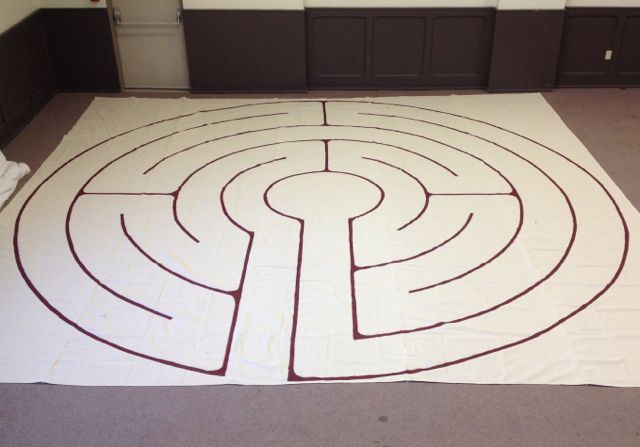
4. I wanted to make a 5-path version of the Chartres labyrinth. To figure out how wide my paths should be, I started by making the largest circle (to within a couple of inches of the edge of the canvas) and then making the centre circle (large enough that three people can comfortably stand in it). Then I measured the distance between the centre circle and the outside circle and divided it by 5. It came to 17.5 inches.
5. Shortening my string each time, I drew the concentric circles. 
6. From there, it’s a matter of drawing the horizontal and vertical lines and then erasing the parts of the circle that aren’t needed. As you’ll see in the design I used, the horizontal and vertical lines all connect circles, so you need to pay attention to which of the circles you’re connecting, and then measure the same width as your path (17.5″ in my case) from that line to know how much of the circle to erase. Tip: The chalk marks are easy to brush away with a household brush (I used a pot scrubber).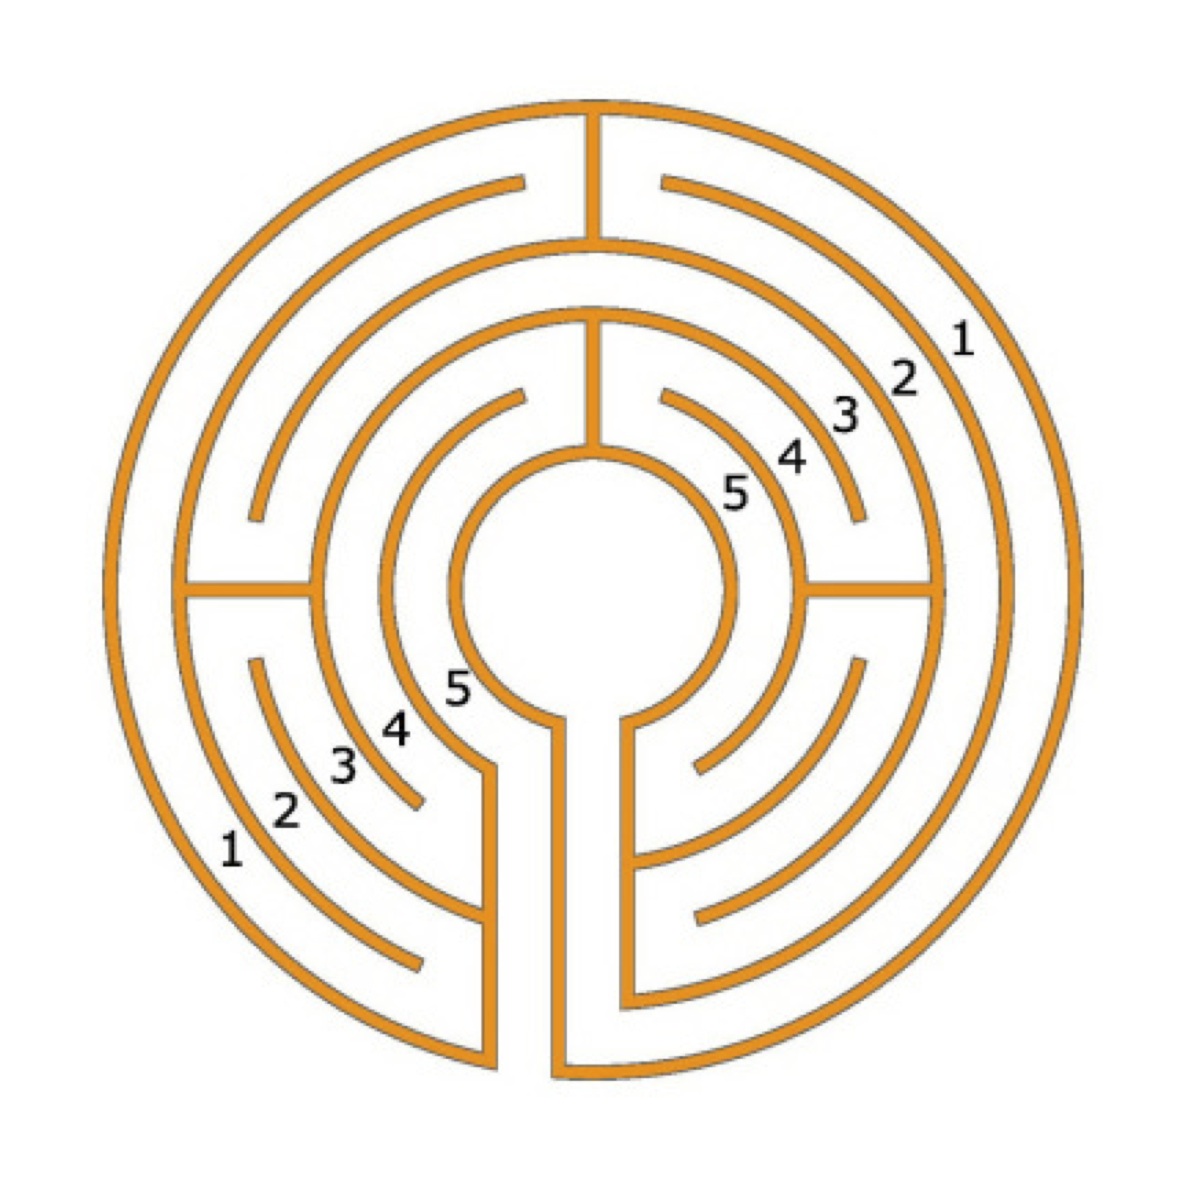
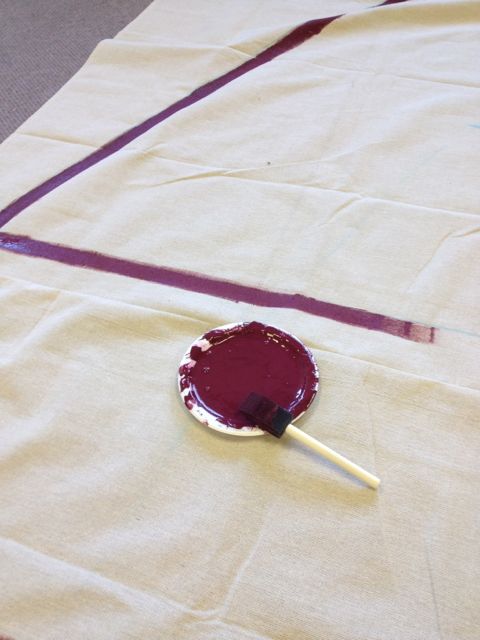
7. Once I had the chalk lines in place, I started painting. To keep it inexpensive, I used some leftover acrylic house paint for my lines, which worked great. I painted on the inside of each chalk line to keep it consistent.
8. For the width of the lines, I simply painted as wide as a small sponge brush. The edges of my lines are not very precise, since it’s hard to attain precision on fabric without driving yourself crazy, but I decided I was fine with that. It might have worked to put painters tape down, but that seemed like a lot of extra work to me (and I only had the space for a limited time) and I wasn’t sure how the tape would work around circles.
 9. After the paint had dried, I decided to touch up the edges a bit with a thinner brush. It took a fair bit of extra time, but I liked the more solid line, so it was worth it.
10. I let it dry for about 12 hours before folding it. It might have been a good idea to leave it longer, but the space was being used the next day so I needed to move it.
The hardest part of the whole process was all of the time spent (about 8 hours) crouching on the floor. By the end of it, I had a hard time unfolding my body! Stretching during my breaks helped, but I could have been more diligent.